

The Ultimate Guide to Synergy Wood Installation
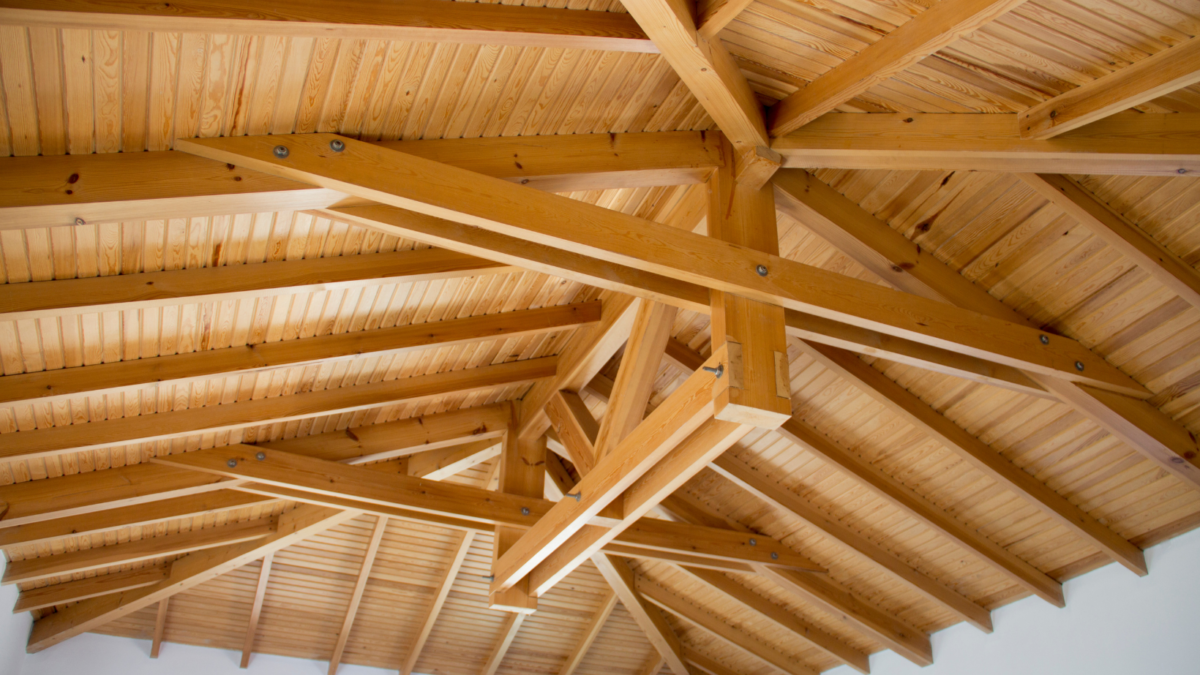
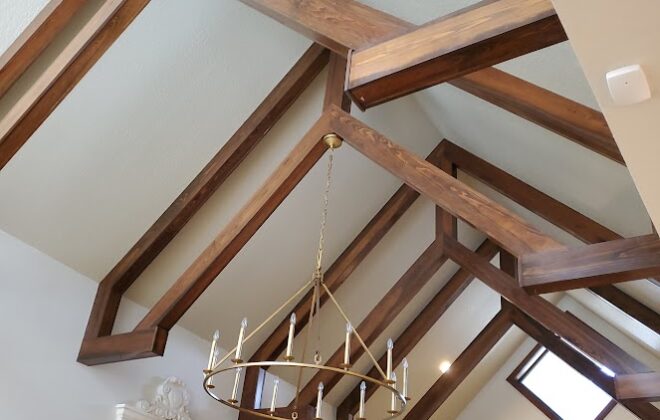
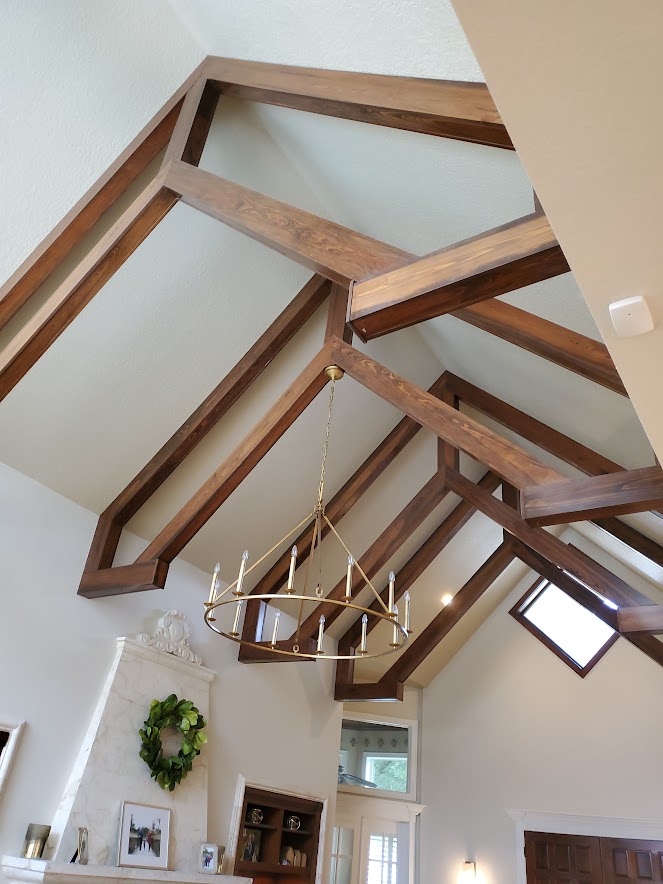
Synergy Wood is a beautiful and sustainable option for anyone looking to add a touch of warmth and texture to their home or business. Made from 100% real wood, Synergy Wood is easy to install and can be used in a variety of applications. In this ultimate guide, we will cover everything you need to know about installing Synergy Wood, including preparation, tools, techniques, and tips for a flawless finish.
Preparation
Before you begin your Synergy Wood installation project, it’s important to properly prepare the area. Follow these steps to ensure a successful installation:
- Acclimate the wood: Synergy Wood should be stored in the same environment it will be installed in for at least 48 hours prior to installation. This allows the wood to adjust to the temperature and humidity levels of the space, which helps prevent warping and buckling.
- Prepare the surface: The surface where you will be installing the Synergy Wood should be clean, dry, and free of any debris. If you are installing over drywall, make sure to remove any loose or flaking paint.
- Determine your layout: Decide on the pattern and direction of the wood. This will affect the amount of wood needed and the direction of the tongue and groove.
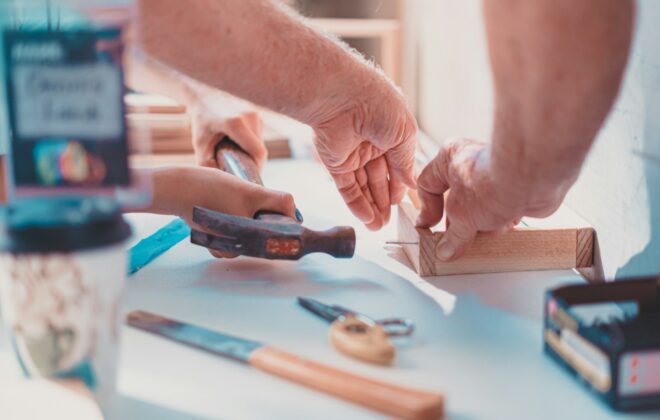
Tools
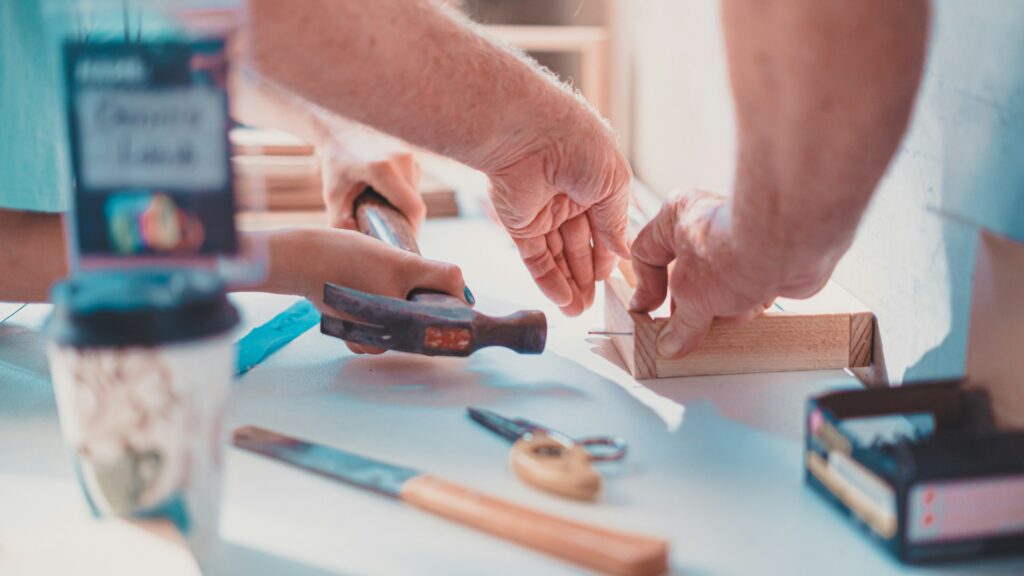
To install Synergy Wood, you will need a few basic tools. Here’s what you’ll need:
- Tape measure
- Pencil
- Circular saw or jigsaw
- Nail gun or hammer and nails
- Table saw (optional)
- Chalk line
- Level
Techniques
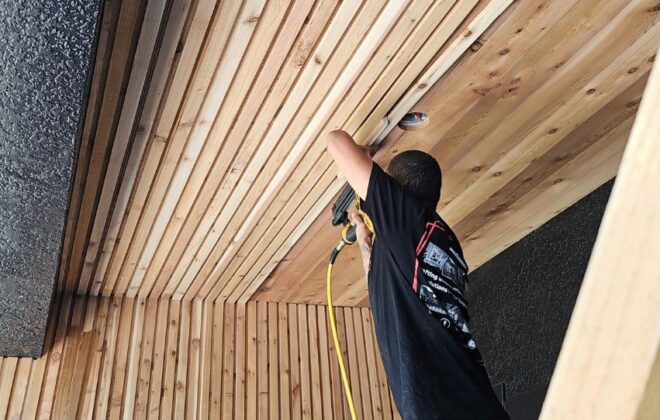
Synergy Wood is designed to be easy to install, even for those with little experience. Here are the basic steps:
- Measure and cut: Measure the length of the wall where you will be installing the Synergy Wood. Cut the first board to the correct length, leaving a 1/4-inch gap at each end for expansion and contraction.
- Install the first board: Apply a bead of adhesive to the back of the first board and press it firmly into place. Use a level to ensure it is straight.
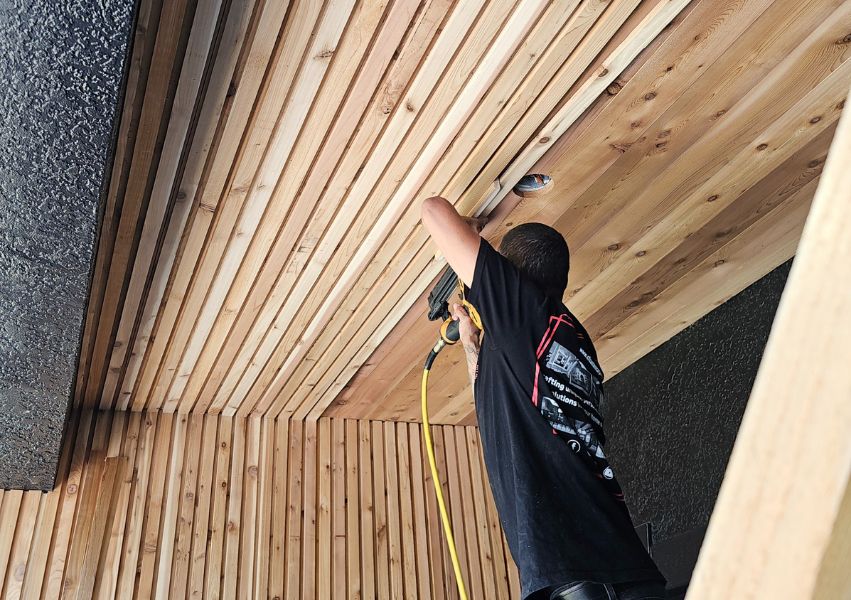
- Install the second board: Apply adhesive to the tongue of the first board and slide the second board into place. Nail through the face of the board, making sure to hit the studs.
- Continue installation: Repeat the process, making sure to stagger the joints and leave a 1/4-inch gap at each end.
- Trim: Once you have installed all the full-length boards, measure and cut the final board to fit. Nail it into place and use a trim piece to cover any gaps.
Tips for a Flawless Finish
- Use a nail gun: A nail gun makes the installation process faster and easier, and ensures a secure fit.
- Sand the edges: Sand the edges of the boards before installation to ensure a smooth finish and prevent splinters.
- Stagger the joints: Staggering the joints creates a more natural look and helps prevent the boards from warping or buckling.
- Use adhesive: Applying adhesive to the back of each board ensures a stronger bond and helps prevent the boards from shifting or coming loose.
- Leave a gap: Leaving a 1/4-inch gap at each end allows for expansion and contraction of the wood, which helps prevent warping and buckling.
Conclusion
Synergy Wood is a beautiful and sustainable option for anyone looking to add warmth and texture to their home or business. With a few basic tools and techniques, installation is easy and can be done by anyone. By following these tips and guidelines, you can achieve a flawless finish that will last for years to come. Whether you’re a DIY enthusiast or a professional contractor.