


Mastering Custom Finish Carpentry: Pro Tips & Techniques
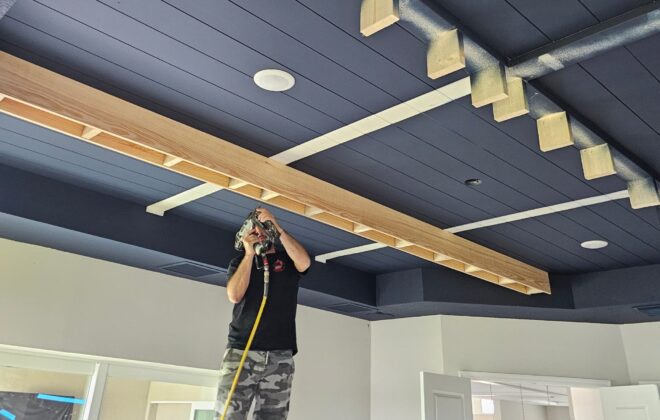
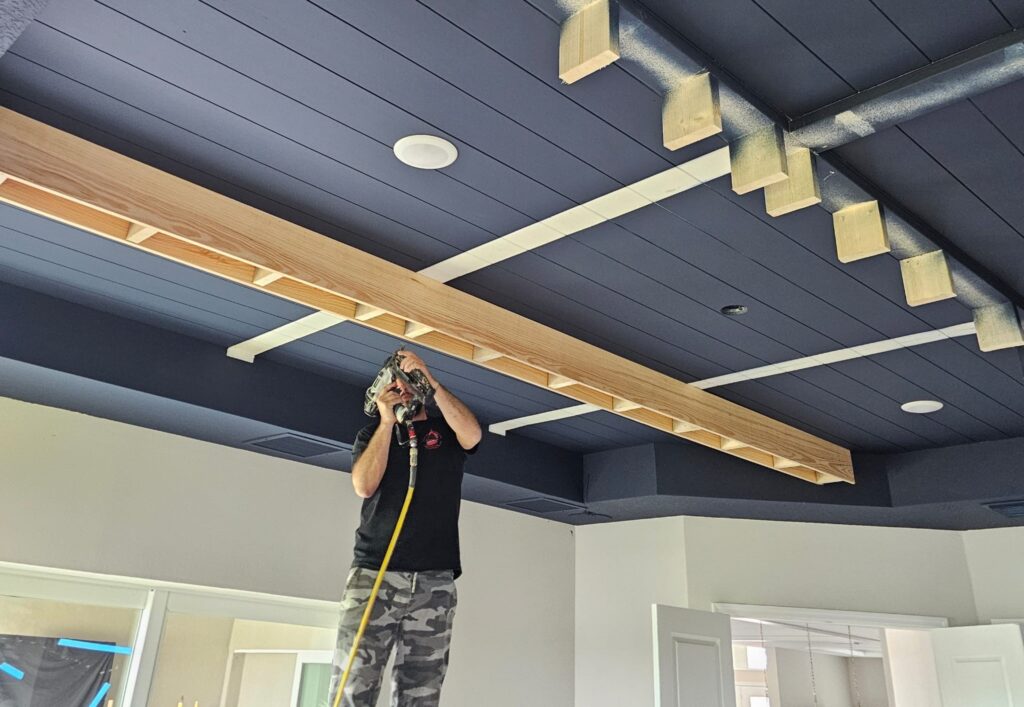
Are you looking to add a touch of elegance and sophistication to your home? Custom finish carpentry is the perfect solution! With its meticulous craftsmanship and attention to detail, custom finish carpentry can transform any space into a stunning masterpiece. In this blog post, we will share pro tips and techniques to help you master the art of custom finish carpentry and elevate your woodworking projects to the next level.
Essential Tools for Custom Finish Carpentry
To achieve professional results in custom finish carpentry, it’s crucial to have the right tools. Here are some essential tools you’ll need in your arsenal:
Miter Saw: A miter saw is a must-have tool for custom finish carpentry. It allows you to make precise cuts at various angles, making it ideal for cutting moldings, baseboards, and trim.
Pro Tip #1 – Use a Coping Saw for Inside Corners
When installing moldings or baseboards, inside corners can be challenging. A coping saw is a handy tool that can help you achieve seamless inside corners. Simply use a coping saw to cut along the profile of the molding at a 45-degree angle, then sand and file the edges for a perfect fit.
Nail Gun: A nail gun is a time-saving tool that allows you to quickly and securely attach moldings and trim to walls or other surfaces. It’s essential for achieving a professional and polished finish.
Pro Tip #2 – Pre-Drill Nail Holes
To avoid splitting the wood when nailing moldings or trim, it’s important to pre-drill nail holes. Use a drill with a bit slightly smaller than the nail size to drill pilot holes. This will make nailing easier and prevent any damage to the wood.
Chisels: Chisels are versatile tools that can be used for shaping and smoothing wood. They are essential for precise and intricate work, such as creating custom joints and detailing.
Pro Tip #3 – Sharpen Your Chisels
Sharp chisels are crucial for achieving clean and precise cuts. Make sure to regularly sharpen your chisels using a honing stone or sharpening system. A sharp chisel will make your custom finish carpentry work much easier and more accurate.
Sandpaper: Sandpaper is essential for finishing wood surfaces and achieving a smooth and flawless result. It’s important to have different grits of sandpaper on hand for different stages of the finishing process.
Pro Tip #4 – Sand in the Direction of the Grain
When sanding wood, always sand in the direction of the grain. Sanding against the grain can cause scratches and damage to the wood fibers, resulting in an uneven finish. Sanding in the direction of the grain will give you a smooth and professional-looking result.
Mastering custom finish carpentry requires skill, precision, and the right tools. By following these pro tips and techniques, you can elevate your woodworking projects to the next level and achieve stunning results.
Remember to use a coping saw for inside corners, pre-drill nail holes, sharpen your chisels, and sand in the direction of the grain for a professional finish. With practice and attention to detail, you can become a master of custom finish carpentry and create beautiful and timeless woodworking projects for your home or clients.

